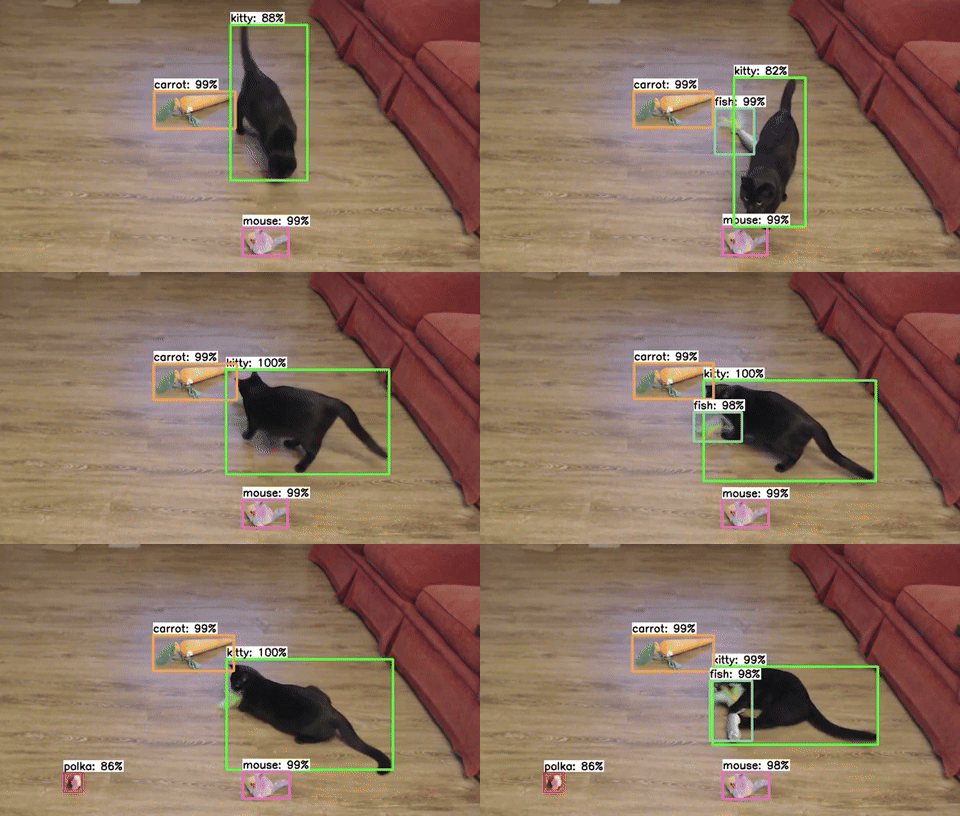
The first step for training any machine learning model is to build a dataset. For object detection models, this means collecting and labeling hundreds to thousands of images of the objects you’d like to detect. Curating a dataset is actually the hardest and most important part of training a model, and there are many details that need to be considered. In this article, we’ll introduce the process of dataset creation and share eight tips for effectively gathering and labeling images to train an object detection model.
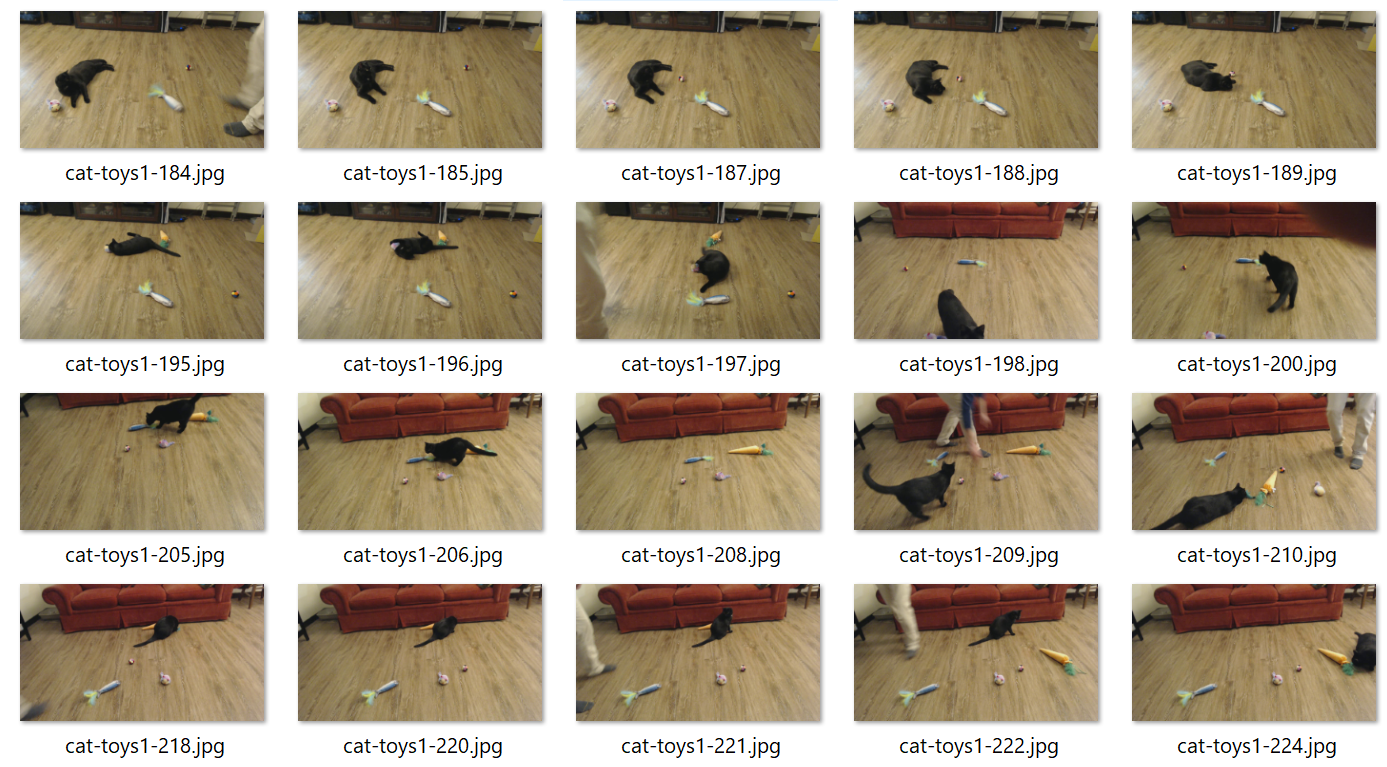
Figure 1. A snippet of images from the 'cat toy' dataset used as an example for this article.
We’ll use a “cat toy detector” as an example application for our object detection model in this article. The app will watch our cat as she plays with various cat toys and time how long she spends with each one to see which is her favorite. We’ll walk through tips and best practices for the data gathering process for the cat and toy detector.
Building an Object Detection Dataset
Object detection models are trained to locate and identify objects of interest in an image. To learn what the objects of interest look like, the model goes through a training process where it is given example images (i.e. training data) and uses them to adjust its internal weights to extract and identify features that are related to each object. The training data allows the object detection model to extract relevant features from input images and learn how to associate them with the objects of interest. A good training dataset provides many examples of each object so the model can learn what the objects look like in various visual conditions.
Datasets can be gathered online from pre-existing data on sites like Kaggle, Open Images V7, or Roboflow Universe. Another way to develop an accurate model is to gather images by manually taking pictures of the objects in environments that are similar to what will be seen by the camera in the application. This article focuses on the process of custom dataset creation, rather than using pre-existing datasets, because manually captured datasets tend to perform better. For a full introduction to the topic of gathering and labeling data, watch our YouTube video, How to Capture and Label Training Data to Improve Object Detection Model Accuracy.
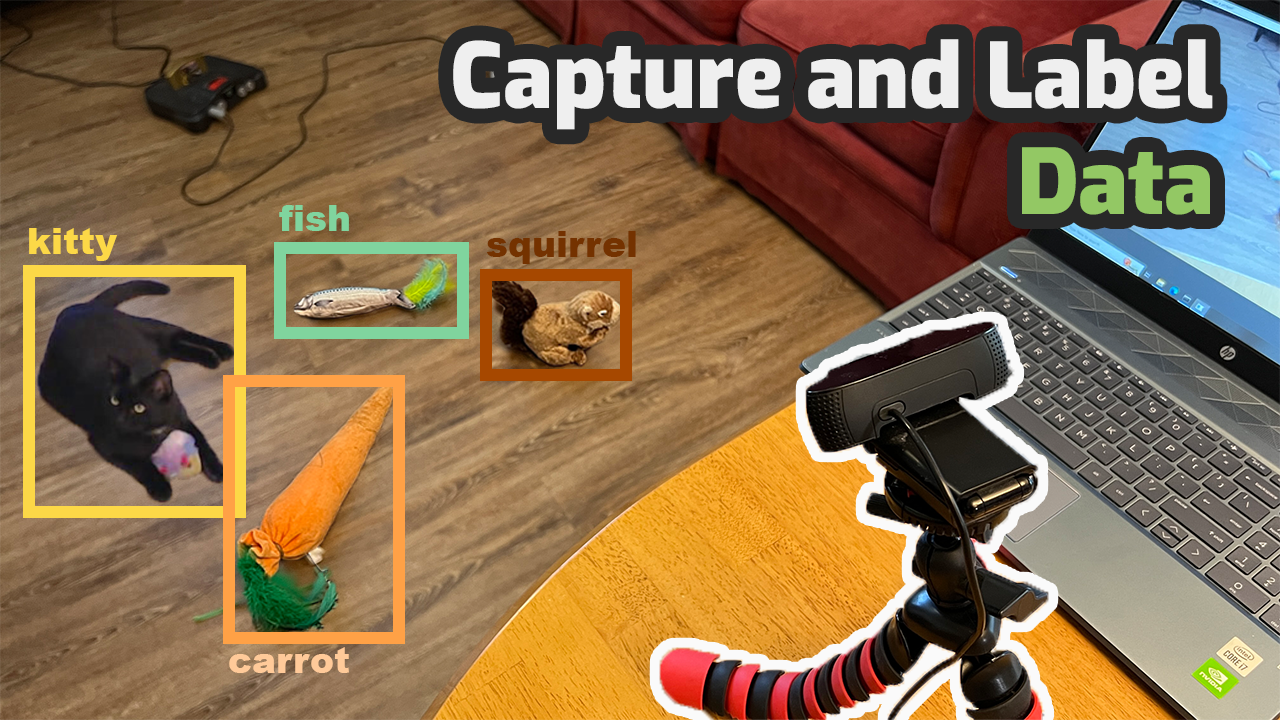
Figure 2. Watch our YouTube video for a full introduction to gathering and labeling data.
There are 2 primary steps to developing an effective custom training dataset for object detection models:
- Gathering images: First, take pictures of the objects from a variety of distances, perspectives, and rotations with a smartphone, camera, or webcam.
- Labeling objects: Once the images are gathered, label them to indicate where the objects of interest are in each image. This can be done using a labeling tool such as LabelImg. This article shows examples of using LabelImg for labeling images, however, there are a variety of other image labeling tools available.
The rest of this article provides tips and best practices for gathering and labeling object detection images. Read on to learn more about building effective datasets for training!
Tip 1. Use images similar to what will be seen in the actual application
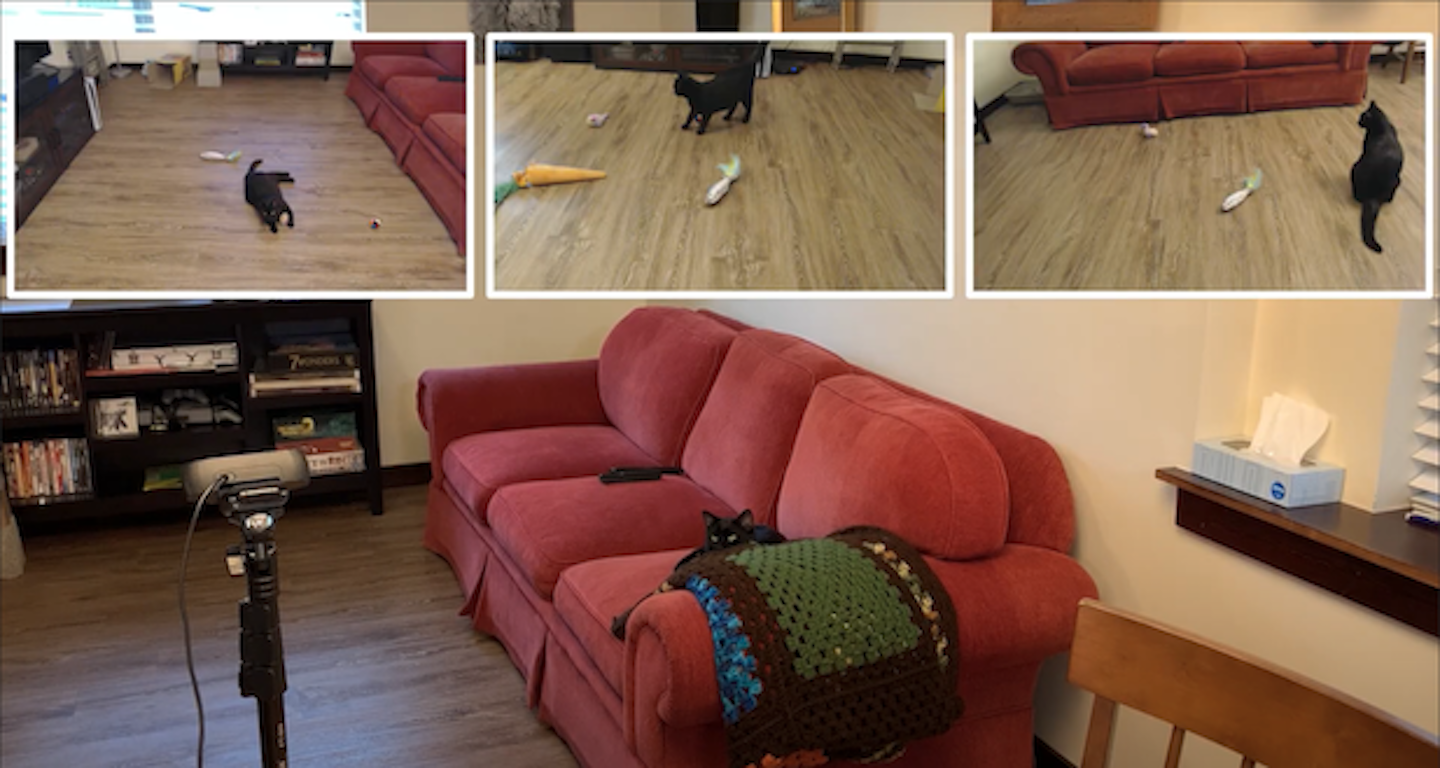
Figure 3. The cat toy detector will primarily be used in the living room, so we took pictures of the cat and toys on the living room floor.
When training a computer vision model, it’s best to use images that are similar to what will be seen by the camera in the end application. They should be taken from the same angle, perspective, range of distances, lighting, and environments as what the model will encounter when it is actually deployed. For best results, the images should be captured by the same camera model that will be used in the application.
Using similar images helps the model learn key features relevant to that setting, such as lighting conditions, edges, depth, and other complex features. It’s important to capture similar images, because it helps the model learn the features from those environments and correlate them to the objects you want to detect.
When setting up the camera to capture the images, imitate the position the camera will be in for the actual application. For example, if the model will run on a surveillance camera, set the camera up so it has a similar view as the surveillance camera would. If it will run on a car-mounted camera, set the camera up so it is at a similar level and direction as it would be on the car. If the application is going to see the objects from many different perspectives and backgrounds, the camera will need to be set up in a variety of ways so that it can capture multiple views of the objects.
Tip 2. Provide examples of objects at various rotations, distances, and perspectives

Figure 4. The cat toy dataset images show each object (especially the cat) in various positions, orientations, and poses.
To be able to detect objects, the model must know what they look like from all angles and perspectives. Also, the model will learn the approximate size of the object: if the images only show examples of the objects from up close, the model won’t do well at detecting them when they’re far away. It’s important to provide images showing the objects at various perspectives, rotations, and distances. Using images like this will increase the robustness of the model.
One approach to capturing objects from various angles is to methodically move the objects slightly in different directions or orientations across different images. Another approach is to capture enough random images of the objects that it shows them in all orientations, as we did with the cat toy detector. The ideal dataset will show each object at every angle, perspective, and distance as will be seen in the actual application. The more rotations, distances, and perspectives that can be captured, the more this will help the model understand the object and improve its ability to detect it.
It’s also useful to include a variety of backgrounds, settings, and other objects in the training dataset. This adds more visual data that helps the model understand what the objects of interest DON’T look like, which ultimately helps reduce false positives.
Tip 3. Start with at least 50 images per class and at least 200 images overall
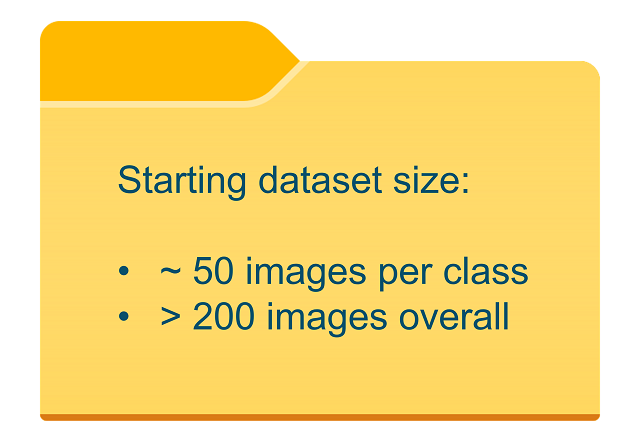
Figure 5. A good starting point for training datasets.
How many images should be used for training an object detection model? It depends on the application, but a good starting point is 50 images per class and at least 200 images overall. This is enough for the model to learn the features of the objects during the training process, and should allow the model to detect the objects in basic conditions. If there’s a wide variety of visual conditions the application will be used in (indoors and outdoors, bright and dim lighting, etc.), more images are needed to provide more examples of the objects in these conditions. Generally, the more images there are in the training dataset, the more accurate the model will be. Production-quality models use upwards of 10,000 or even 100,000 images in their training dataset.
Newer models (such as YOLO 11 or Detectron) incorporate training features that automatically multiply the size of the dataset by augmenting the images from the original dataset with cropping, lighting, blur, and other visual changes. As model architectures and training pipelines become more advanced, less images are needed to achieve good accuracy with a trained model.
Tip 4. Don’t use pictures that are nearly identical

Figure 6. The two cat toy pictures above are mostly similar, so we discarded the image on the right as it doesn't add much value to the dataset.
Make sure there’s some visual difference between each image used in the dataset. Having near-identical images doesn’t provide additional data to the model and thus isn’t useful for training. An identical or close to identical image will immediately become redundant as the model will have already accounted for that exact environment and won’t add to its knowledge.
If a dataset was created by extracting frames from a video, it’s common to have near-identical images because the scene doesn’t change much from one frame to the next. This can also occur when taking repetitive images of a mostly unchanging environment. When preparing the training data, it’s a good idea to look through the images and remove ones that are too similar.
Tip 5. Labeling - Include the full object inside the bounding box
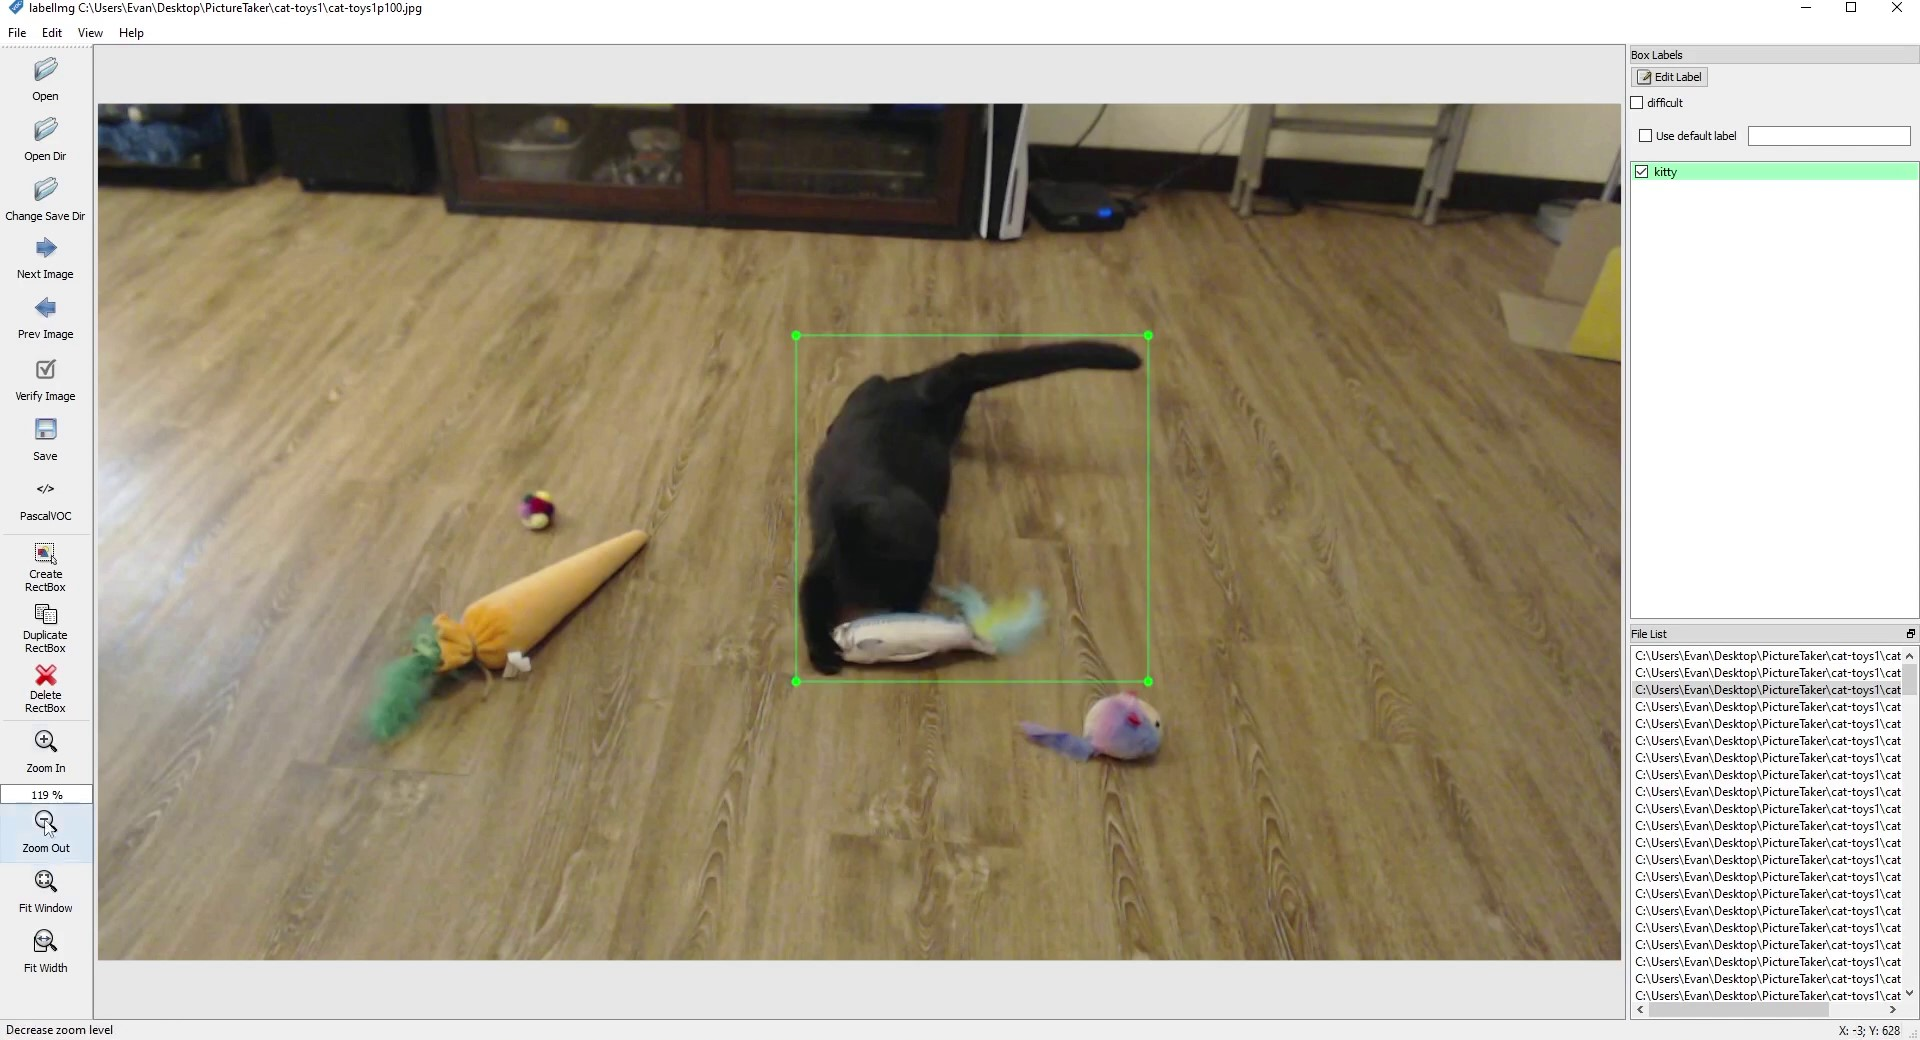
Figure 7. Example of the full object (kitty) being captured in the bounding box.
Object detection works best with objects that have clear and well-defined boundaries, like a cat or a vehicle. When labeling these objects, be sure to include the full object inside the bounding box. The bounding box doesn’t have to be perfect, but lean on the side of making the box slightly too big rather than missing parts of the object. Make use of the zoom tool to get a more precise bounding box around the object if needed.
Certain shapes of objects (such as long straight objects placed diagonally) could lead to more background being present in the bounding box. This is fine, but make sure you get many different angles of the object and include examples with different backgrounds as well. If objects are slightly obscured, just draw a box around the visible part of the object. It’s also okay for bounding boxes to overlap, so don’t worry if the bounding boxes intersect each other.
This doesn’t have to be perfect, but it is always better to make the box slightly too big rather than missing parts of the object. Make use of the zoom tool in this section to get a more precise bounding box around the object. Certain shapes of objects could lead to more background being present in the bounding box, this is fine, but make sure you get lots of different angles of the object and possibly with different backgrounds as well. If objects are slightly obscured, just draw a box around the visible part of the object.
Tip 6. Labeling - Ask yourself, “where would I want the model to predict this bounding box”?
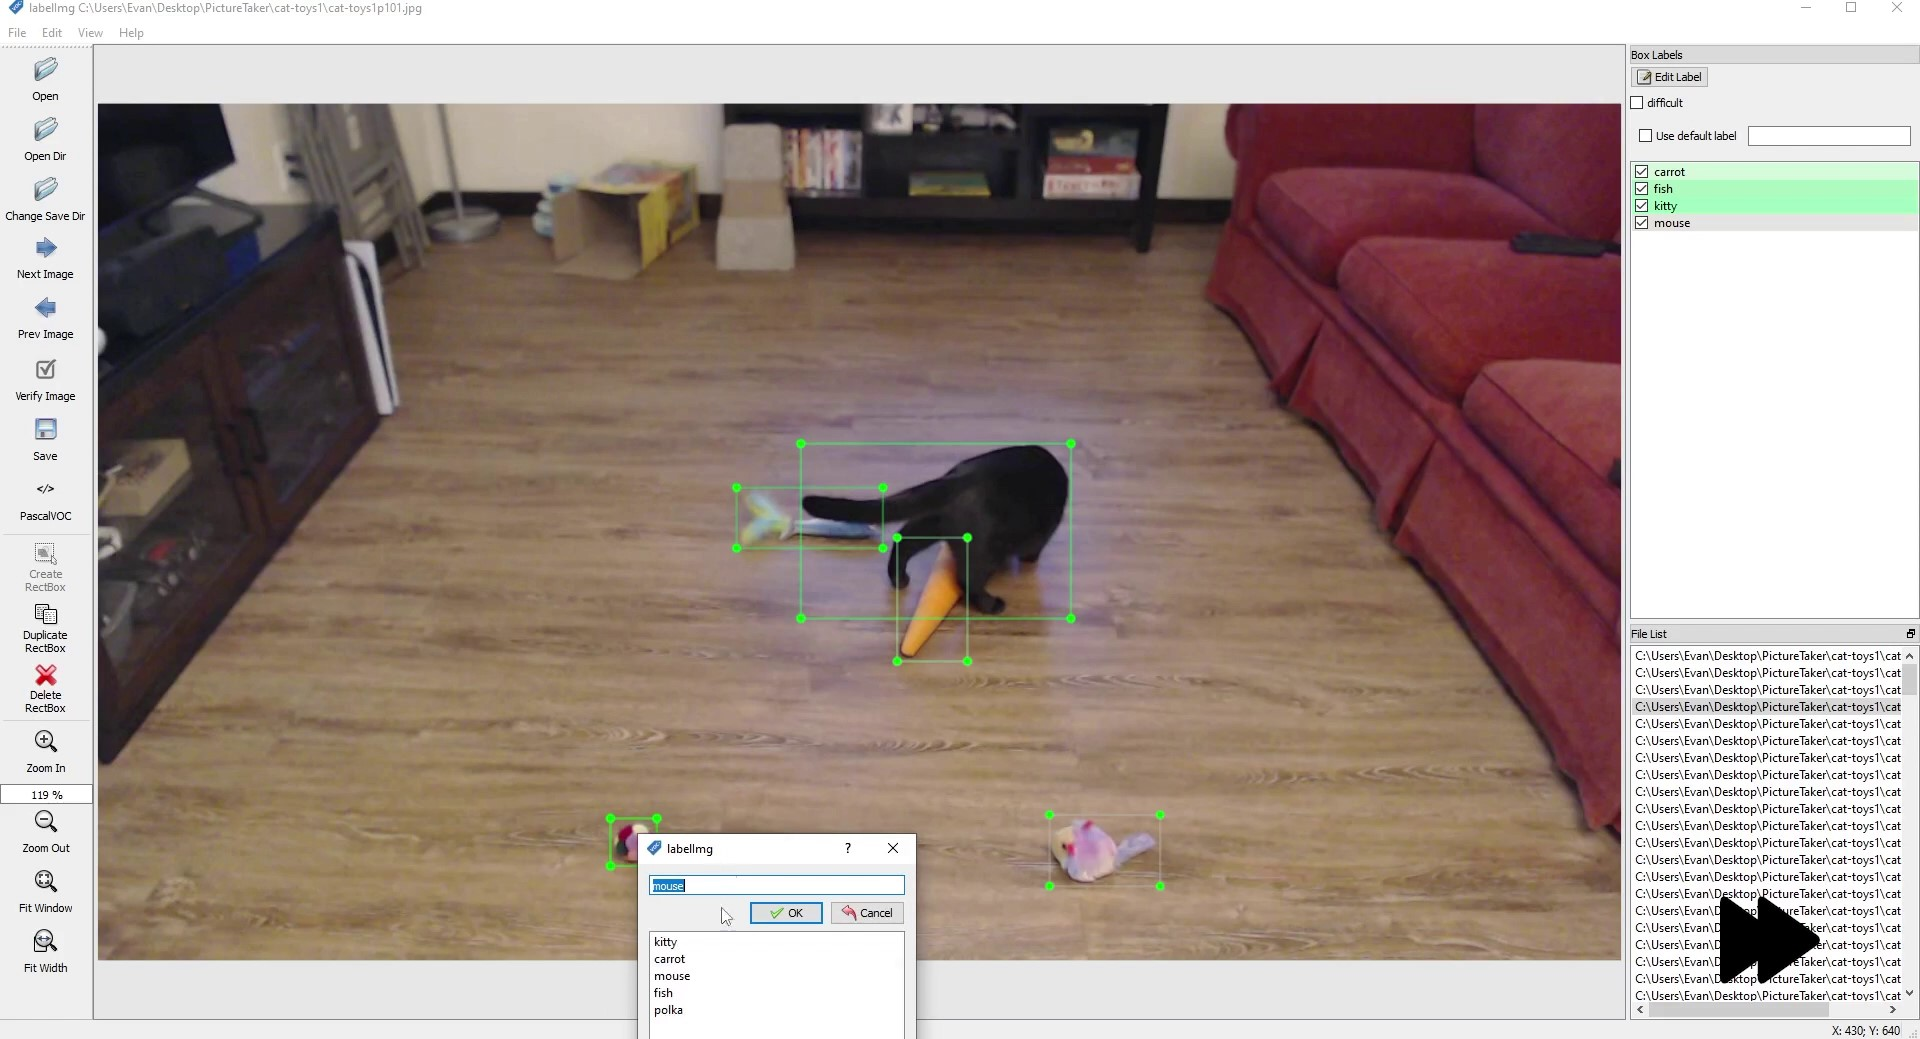
Figure 8. In this image, the carrot and fish are partially obscured. To determine where to draw the label box, it can be helpful to ask 'where would I want the model to predict these bounding boxes'?
Sometimes, as the person labeling the image, it can be confusing to think of where to draw an object’s bounding box label. This often happens in unusual cases where an object is partially obscured or difficult to see in the image. In these cases, ask yourself where you would want the bounding box to be predicted if the model saw this image in the actual application. Wherever you would want the box to be predicted, that’s where you should draw the bounding box label. Putting the bounding box around this region will help the model more accurately learn about the object, even if it is obscured.
Tip 7. Labeling - Don’t use confusing or overcrowded images
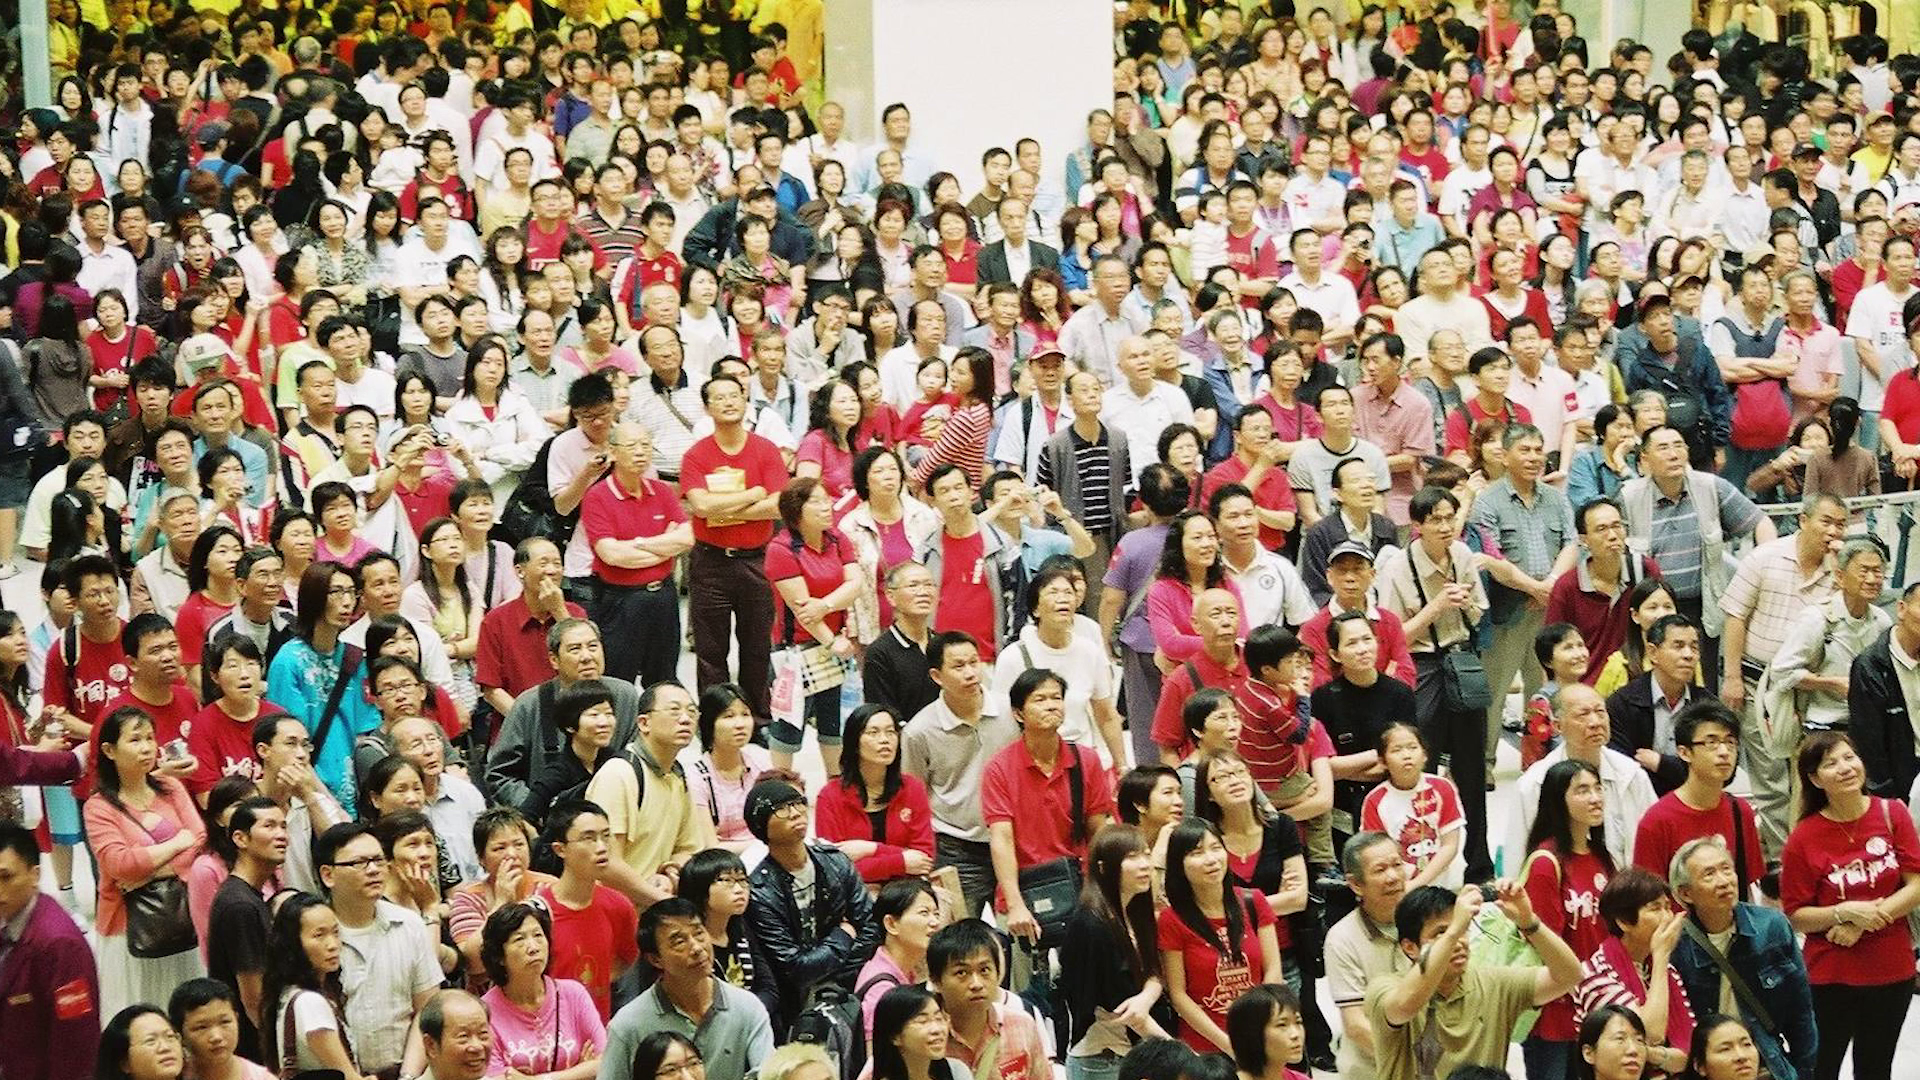
Figure 9: Example of a crowded image where it would be difficult and confusing to label every person in the image.
It’s fine to have overlapping bounding boxes in an image, however, using overcrowded or confusing images will cause the model to have a hard time predicting bounding boxes. As seen in the example above, it will be hard to section out each person in the large crowd. It’s best to use images where there are clear boundaries around each object.
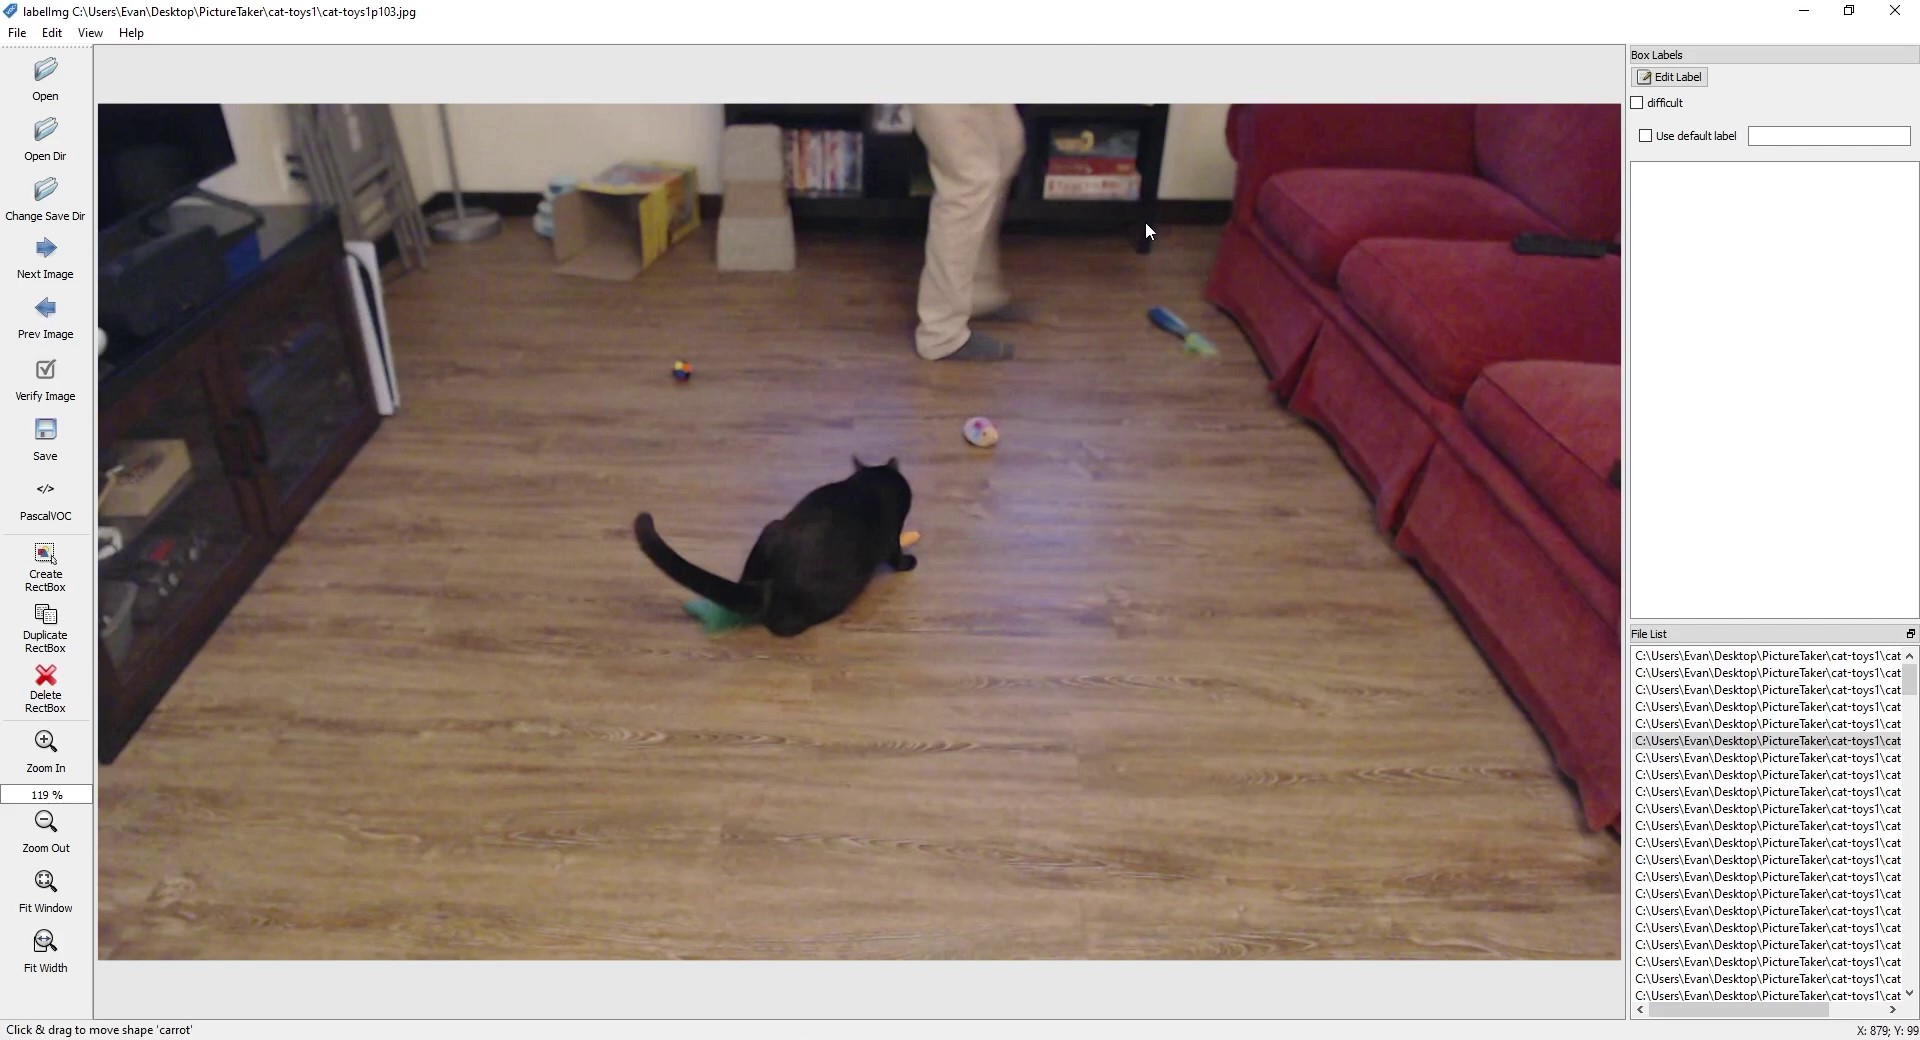
Figure 10. The carrot is mostly obscured in this image, and how it should be labeled is unclear.
If you’re confused about how to label certain images (due to a restricted view of the object, for example) just throw this image out and use a different one that has a more clear view of the object. For example, in the image above, there are a couple ways the carrot could be labeled: both ends of the carrot could have their own bounding box, or the full carrot could be labeled in a single bounding box. In this case, it’s okay to just throw out the image due to it being too confusing. If there are confusing or contradictory training examples in the dataset, the model won’t be able to correlate features to objects as accurately.
Tip 8. Start with basic images first, then add more difficult images
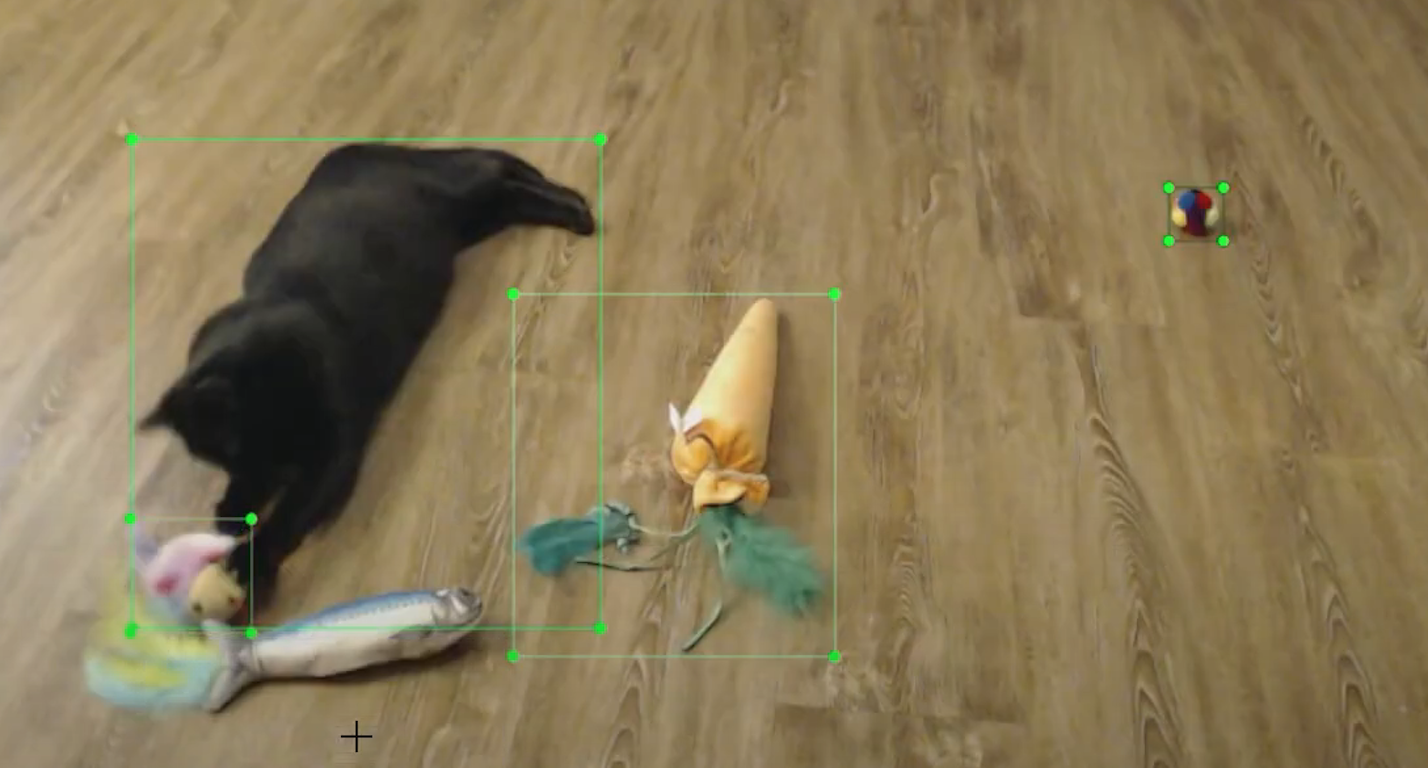
Figure 11. A basic image with clear examples of each object.
Object detection models learn best from clear, obvious examples. It can be tempting to use “difficult” images to train the model, where objects are obscured, in dim lighting, blurry, or other difficult visual conditions. However, it’s best to start with “easy” images where the objects are obvious, clear, and have good lighting. Train the model off of the “easy” dataset and confirm it works in basic conditions. Then, add more difficult images (multiple overlapping objects, dim lighting, blurry, etc.) and retrain the model to improve its performance in those conditions. This makes it easier to identify areas where the model struggles and address them on a case-by-case basis.
Conclusion
Building a good dataset for training object detection models is one of the most crucial aspects of developing a high-performing model. The tips in this article will help get you started with capturing and labeling images for your own dataset. Remember to start with a small and simple scope for your model and dataset, and then improve on them from there. Finally, make sure to relax and enjoy the process, it will be a fun and rewarding experience!
Once you’ve finished building your dataset, you can train a model by following the instructions from our article on training TensorFlow Lite models. Keep an eye on our Learn page for instructions on how to train other object detection models, like YOLOv8 or YOLO 11. Also, keep an eye out for more articles on advanced techniques for gathering and labeling data.
If you need help or guidance with building a dataset for your model, please don’t hesitate to send us an email at info@ejtech.io or schedule an initial consultation on our Contact page.


